Snowboarding is all about flow, balance, and control. But let’s be honest, those awkward moments getting off the chairlift or gliding across flat terrain with one foot strapped in? That’s where things can get sketchy fast. Enter the unsung hero of snowboard accessories: the stomp pad.
If you’ve ever felt your back foot slipping like it’s on an ice rink, this guide is for you. In this in-depth article, we’ll break down the best snowboard stomp pads, explain why they matter, and help you pick the perfect one for your riding style. Whether you’re a total beginner or a seasoned shredder, there’s something here for you.
What Is a Snowboard Stomp Pad?
Purpose of a Stomp Pad
A snowboard stomp pad is a traction pad that sticks onto your snowboard, usually between your bindings near the rear foot. Its main job? Give your unstrapped foot something to grip when skating, getting off the lift, or cruising through flat sections.
Think of it like the non-slip mat in your bathtub small, simple, but essential when things get slippery.
How It Improves Control and Safety
Without a stomp pad, your boot rests directly on the smooth topsheet of your board. Add snow, ice, and speed into the mix, and you’re basically asking for a slip. A stomp pad increases friction, helping you stay upright, stable, and confident.
Why You Need a Stomp Pad on Your Snowboard
One-Foot Riding Explained
One-foot riding happens when only your front foot is strapped into the binding. This is common when:
- Getting off the chairlift
- Skating across flat areas
- Navigating lift lines
A stomp pad gives your back foot grip, so you can steer and stop without wobbling like a baby deer.
Chairlift and Flat Terrain Control
Ever seen someone wipe out right after getting off the lift? Nine times out of ten, it’s because their back foot slipped. A good stomp pad practically eliminates this issue.
Beginner vs Advanced Riders
Beginners benefit the most because balance is still developing. But even advanced riders appreciate the added control especially in icy conditions or crowded resorts.
Types of Snowboard Stomp Pads
Spike Stomp Pads
These features raised spikes or studs that dig into your boot sole. They offer an aggressive grip and work great in icy conditions.
Stud and Modular Stomp Pads
Modular pads let you place individual studs exactly where you want them. They’re customizable and look clean on any board.
Clear vs Graphic Designs
Clear pads blend seamlessly with your board’s graphics, while graphic pads add a personal touch. Performance-wise, both work equally well it’s all about style preference.
How to Choose the Best Snowboard Stomp Pad
Grip and Traction
This is non-negotiable. Look for raised spikes, textured surfaces, or cone-shaped studs for maximum grip.
Size and Coverage
Bigger isn’t always better, but you want enough surface area to place your foot comfortably.
Adhesion and Durability
Cold-resistant adhesive is key. A stomp pad that peels off mid-season is just frustrating.
Board Compatibility
Most stomp pads are universal, but always check size and shape to ensure a good fit with your board and bindings.
Best Snowboard Stomp Pads (Reviewed)
Dakine Modular Mat Stomp Pad
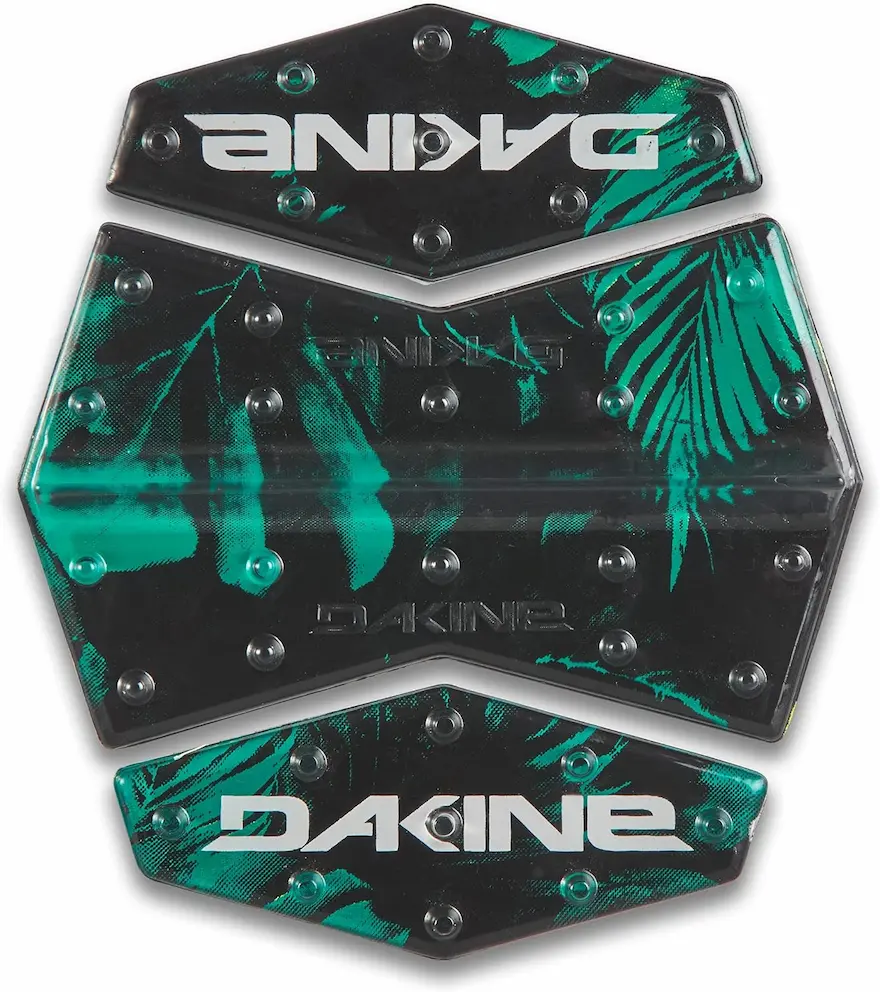
The Dakine Modular Mat Stomp Pad is a favorite among riders who love customization. It comes with multiple individual traction blocks that you can arrange exactly how you want.
Why it stands out:
- Customizable layout
- Excellent grip in all conditions
- Durable, cold-resistant adhesive
This pad is perfect if you’re picky about foot placement or ride different boot sizes.
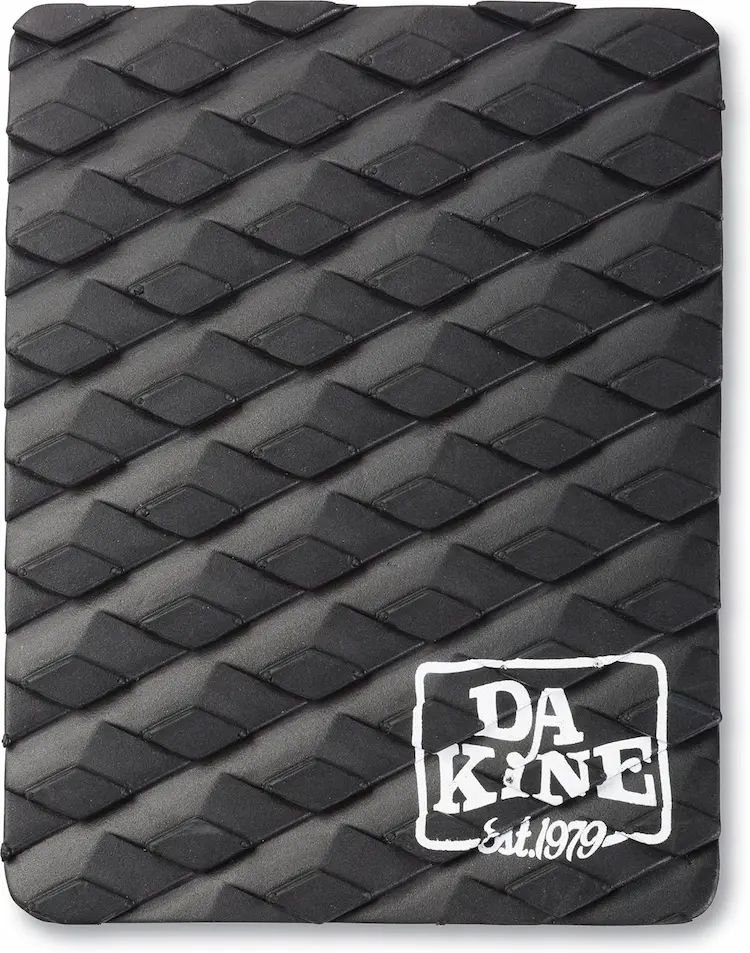
Dakine Spike Stomp Pad
Aggressive and reliable, the Dakine Spike Stomp Pad features sharp spikes that bite into your boot sole.
Best for:
- Icy resorts
- Riders who want maximum traction
It’s simple, effective, and built like a tank classic Dakine quality.
XCMAN 4 Layer-Cone Studs Stomp Pad
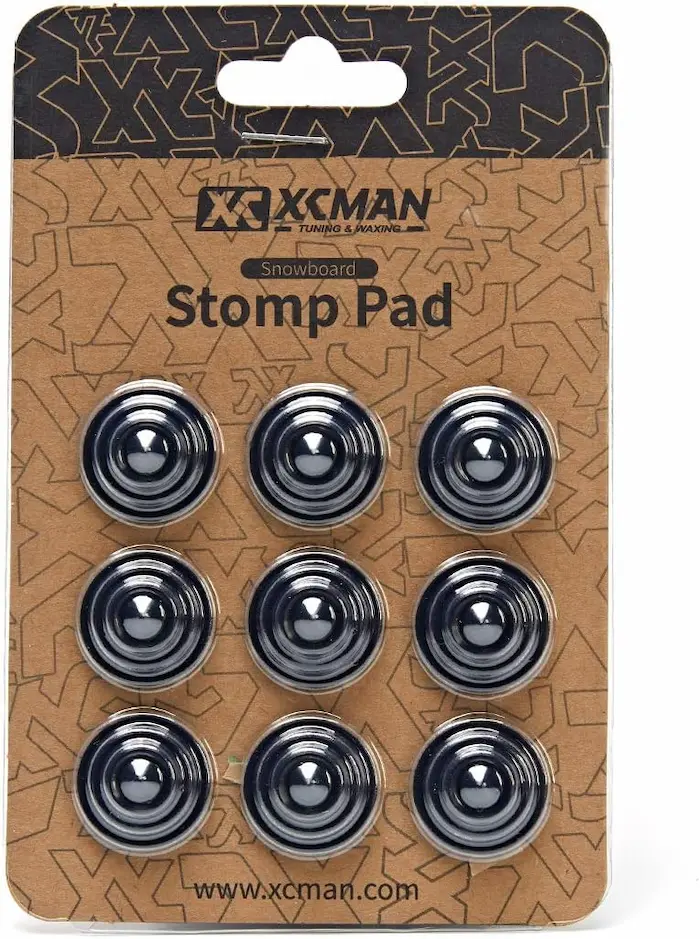
This one’s all about grip. The XCMAN 4 Layer-Cone Studs Stomp Pad uses cone-shaped studs stacked for extra traction.
Highlights:
- Strong anti-slip design
- Lightweight and low profile
- Great value for money
If you want a serious grip without breaking the bank, this is a solid pick.
Devembr Snowboard Stomp Pad
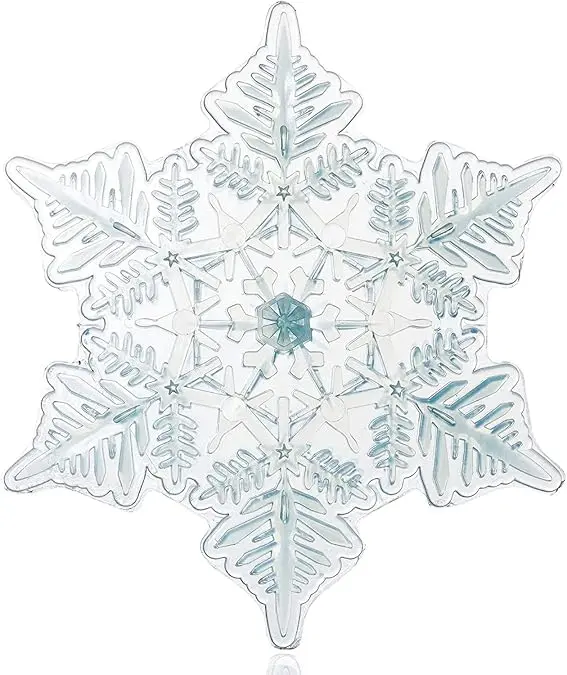
The devembr Snowboard Stomp Pad combines functionality with sleek design. It’s subtle but effective.
Why riders like it:
- Clean aesthetic
- Reliable traction
- Easy installation
Great for riders who want performance without cluttering their board’s look.
Snowboard Stomp Pad With Multi Tool
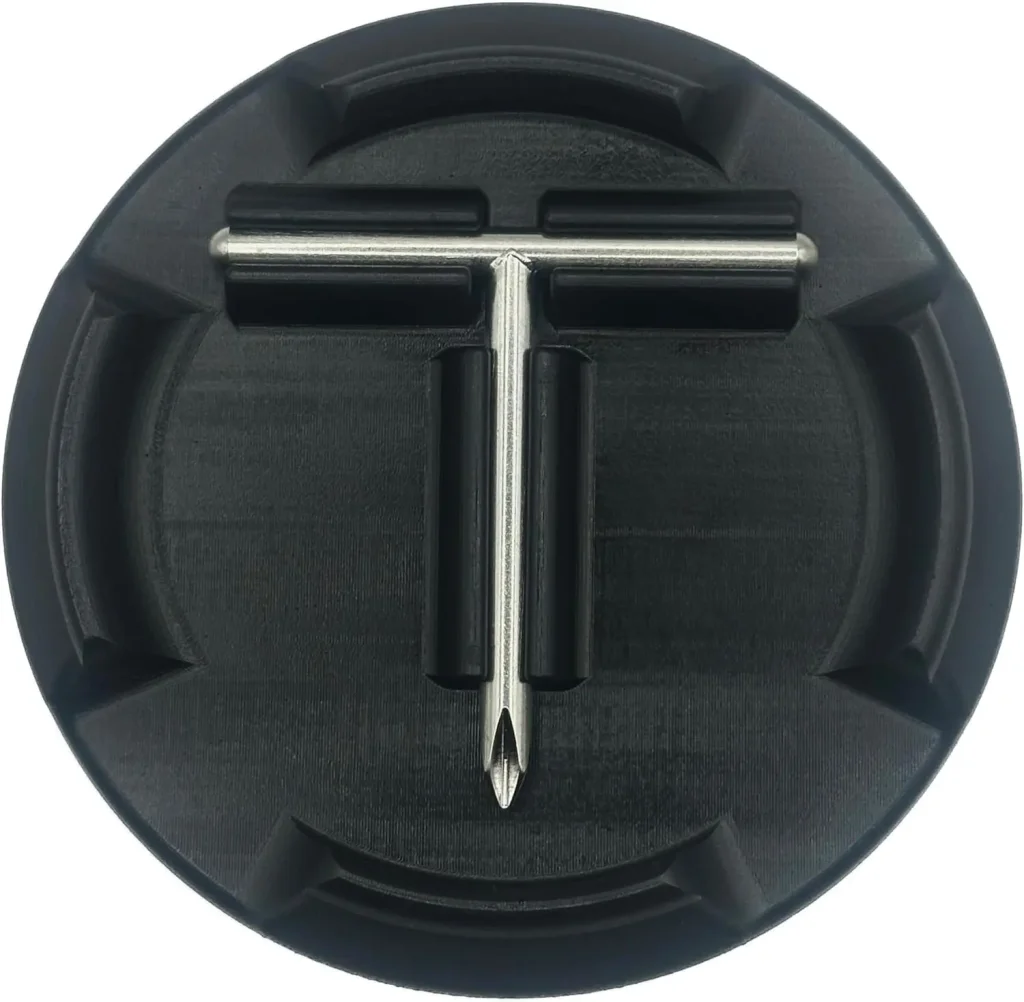
This is a two-in-one solution. Not only do you get a stomp pad, but it also includes a built-in multi-tool.
Perfect for:
- Riders who love convenience
- Quick binding adjustments on the mountain
It’s like having a Swiss Army knife stuck to your board in the best way possible.
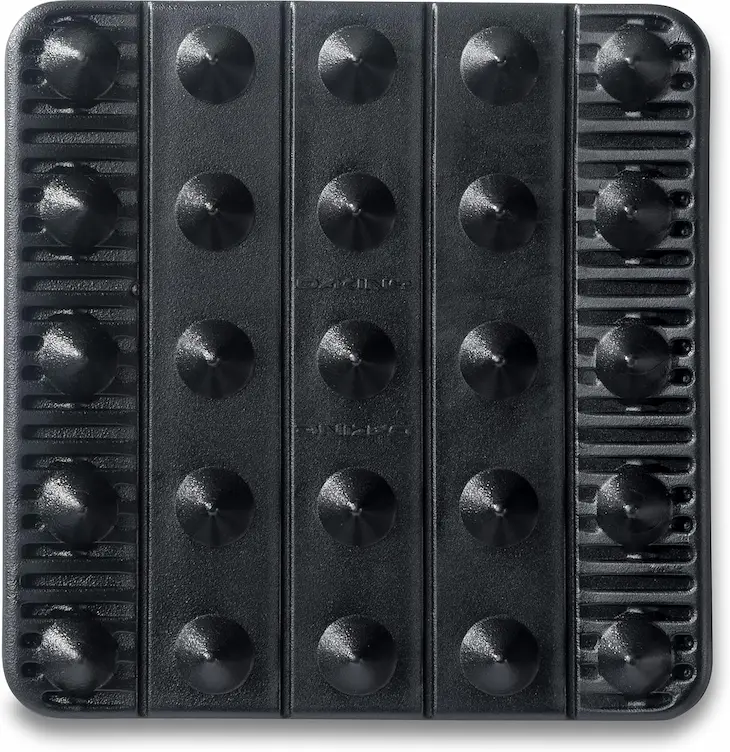
Dakine Primo Stomp
The Dakine Primo Stomp is a classic. Clear, low-profile, and extremely grippy.
Key benefits:
- Transparent design
- Strong traction without bulk
- Trusted Dakine durability
If you want something that just works and doesn’t steal the spotlight, this is it.
One Mfg Flying Cat Snowboard Stomp Pad

Fun, functional, and eye-catching, the One Mfg Flying Cat Stomp Pad adds personality to your setup.
Why it’s cool:
- Unique graphic design
- Solid grip
- Easy to apply
Ideal for riders who want their gear to reflect their style.
How to Install a Snowboard Stomp Pad
Step-by-Step Installation Guide
- Clean your board with rubbing alcohol
- Position the pad where your back foot naturally rests
- Peel and stick
- Apply pressure for 30-60 seconds
- Let it cure indoors for 24 hours
Common Installation Mistakes
- Installing in cold temperatures
- Placing it too close to the binding
- Not cleaning the board properly
Maintaining Your Stomp Pad
Cleaning Tips
Just wipe it down with warm water after riding. Avoid harsh chemicals.
When to Replace It
If it starts peeling or losing grip, it’s time for a new one. Most last several seasons with proper care.
Are Stomp Pads Worth It?
Pros and Cons
Pros:
- Better control
- Increased safety
- Cheap upgrade
Cons:
- Minimal added weight
- Slight change in board aesthetics
Real-World Riding Scenarios
From crowded lift exits to icy traverses, stomp pads earn their keep every single run.
Conclusion
A snowboard stomp pad might be small, but it makes a massive difference. Whether you want aggressive grip, a clean look, or extra functionality, there’s a perfect option out there for you. The products listed above are some of the best snowboard stomp pads available today, tested and trusted by riders worldwide.
If you value control, safety, and confidence on the mountain, adding a stomp pad to your setup is a no-brainer.
Frequently Asked Questions
Do beginners really need a stomp pad?
Yes. Beginners benefit the most from added stability and confidence.
Will a stomp pad damage my snowboard?
No, as long as it’s installed correctly and removed carefully.
Can I use more than one stomp pad?
Absolutely. Modular pads are designed for that.
Do stomp pads work in icy conditions?
Yes, especially spike and stud-style pads.
Where exactly should I place my stomp pad?
Just in front of your rear binding where your foot naturally rests.